


What is W3 Total Cache
W3 Total Cache is the most popular caching WordPress plugin out there.
What made it this popular was the extensive settings that offer advanced options to configure the caching exactly like you need it. With the integration abilities being one of the strongest parts of W3TC, it can be integrated with almost any server side caching software or just use the system’s hard drive, particularly useful for shared hosts.
Except from caching, W3TC can integrate Content Delivery Networks and rewrite the website’s URLs as needed.
MaxCDN being one of the most popular CDNs was integrated in the plugin using the provided API. This allows the users to enable CDN delivery via MaxCDN without any issues or the need for advanced knowledge.
Why Bother
A CDN or Content Delivery Network can be an important part of a website, in terms of speed and web performance. By delivering all static content via a large network of data centers across the world it helps the users to load a faster website and at the same time offload the web server of the webmaster.
Especially since Google started taking loading times as a parameter in google results, it became even more crucial to have a fast website.
How to Install
To install W3 Total Cache all you have to do is type “W3 Total Cache” in plugin search of your WordPress installation.
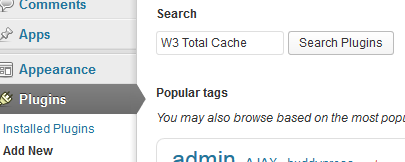
The plugin should be the first result, press “Install” and “Activate” and you are done.

A “Performance” menu will be appear on the sidebar. It contains all W3 Total Cache settings.
How to enable MaxCDN
To enable MaxCDN first we go to “General Settings” on the left side. Then select “CDN” on the menu or scroll down until you find the “CDN” section. All you have to do is click “Enable” and make sure “MaxCDN” is selected on the dropdown menu.

“Save all settings” will save your configuration. Once the page refreshes a warning message should appear on top:
![]()
You can either click the link in the warning message or go “CDN” on the left and scroll down to “Configuration.
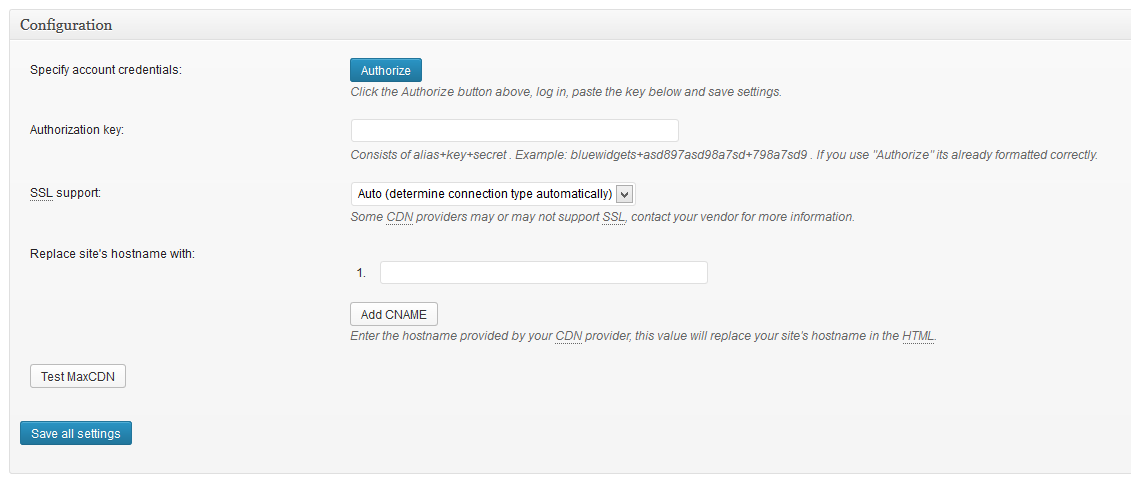
Click “Authorize”. A new window will open and MaxCDN website will load.

Enter your information and press “Log In”. A window will open with your authorization code. Copy the code.
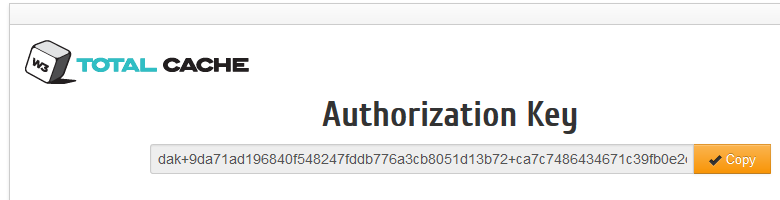
Go back to your website and paste the code in the “Authorization key” field. Click Save all settings. Now the “Authorize” button should disappear and a new “Create Pull Zone” should be in its place. Click the button, a popup button should appear.
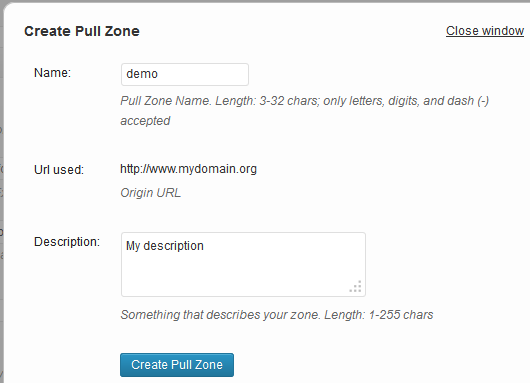
Fill in the details required. Name is the name of the pull zone and will be part of the temp url. For example name.jim.netdna-cdn.com. Description is not used anywhere except from the control panel. Once you fill in the info hit “Create Pull Zone”. If everything went ok you will see a message with further instructions.

Close the window and hit the “Test MaxCDN” button. A Test Passed message should appear.
![]()
Now if you click Save all settings you are good to go. Congrats! Right now all urls to static content on your website, like images/css/js is being rewritten to MaxCDN temp url. This is the basic setup and works perfectly.
Create a CNAME
Now if you want to serve your traffic from a custom URL and not the default MaxCDN then you can create a CNAME. To do that you will need access to your DNS hoster.
For example to serve traffic from the domain cdn.example.org you will need to create a CNAME record inside the control panel of your DNS provider. The CNAME record should be pointing to your current MaxCDN temp url. Like this

Right now all static content is being rewritten and loaded using MaxCDN temp url.
If you enjoyed this post, make sure to subscribe to WP Mayor’s RSS feed.

One Response
Have anybody else tried this cache solution and is it worth the time ?